007442F | Raypak Hi Delta Burner Kit
007442F | Raypak Hi Delta Burner Kit
SKU#: 007442F
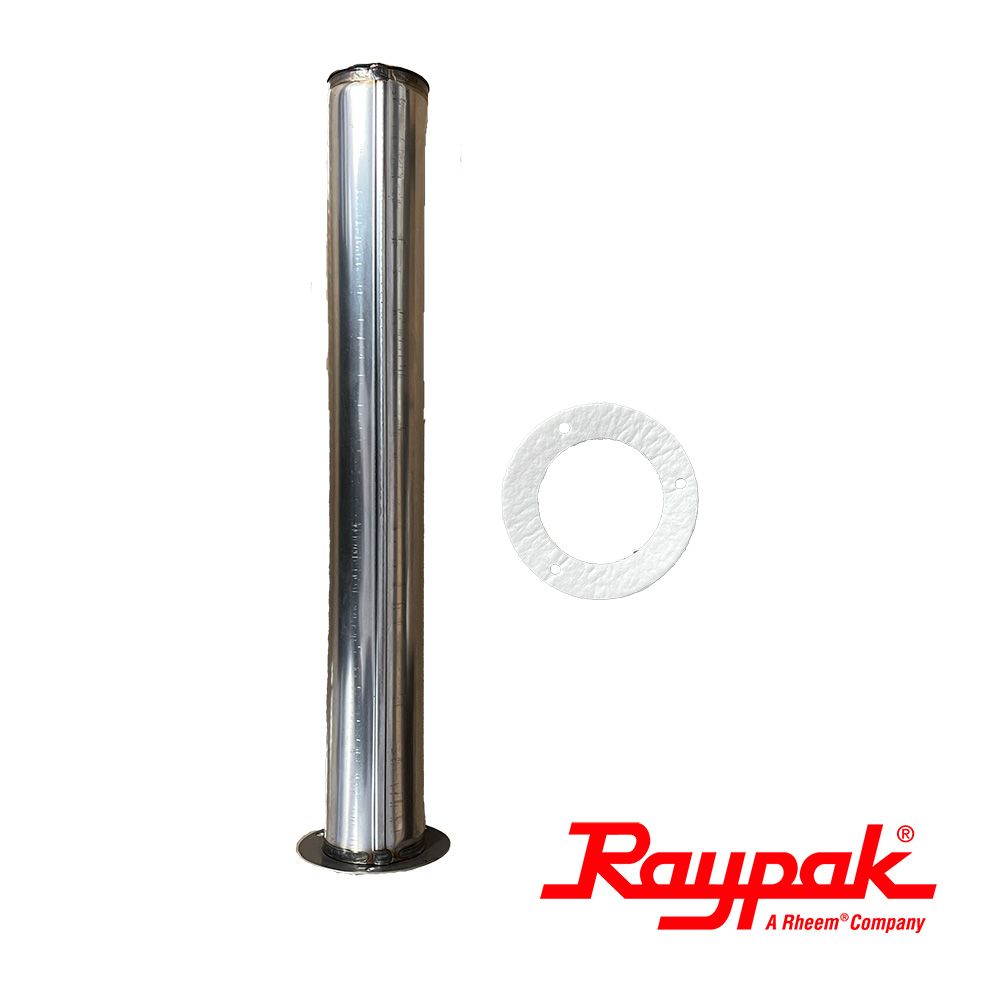
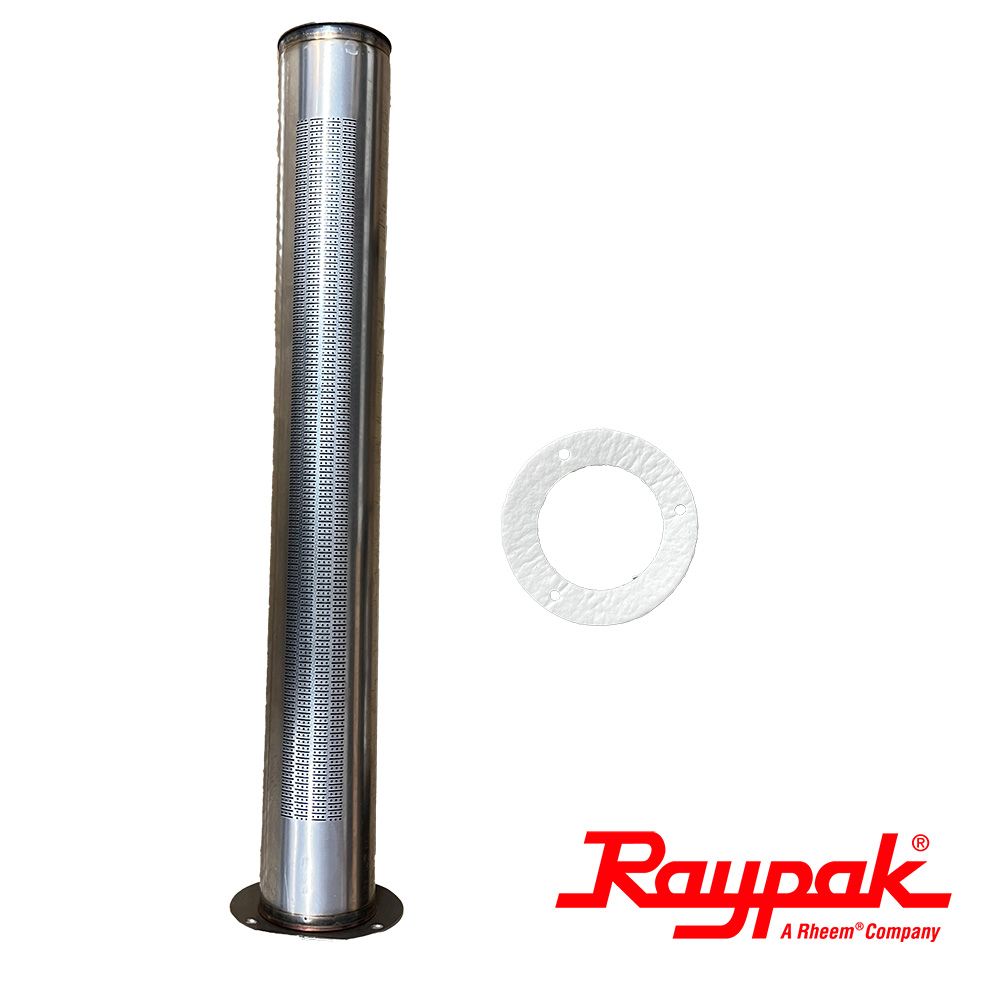
Raypak HI DELTA HOT WATER HEATERS Model 302-902 Gas Burner Kit 007442F
$59.99

Main Burner Adjustment
1. Turn off unit.
2. Open manual firing valves.
3. Turn on the unit, wait 15 seconds, and the igniter should glow. Look into sight glass located at each end of the heater to check igniter operation. Gas valves should open in 45-60 seconds.
4. If burner does not light on first trial, it will retry up to three times for the standard module.
5. Main burner ignition: Check manifold gas pressure at gas valve outlet pressure tap. This should read 3.5 ± 0.1 in. WC for natural gas and 10.5 ± 0.1 in. WC for propane gas.
6. If the pressure reading differs by more than ± 0.1 in. WC, remove screw cover from the gas pressure regulator and adjust main burner manifold pressure.
Replace the screw cover. Repeat steps 3 to 5 on ther valves as necessary.

-
Product Details
About this product
Description
Post Start-Up Check
Check off steps as completed:
1. Verify that the heater and heat distribution units or storage tank are filled with water.
2. Confirm that the automatic air vent (if used) was opened two full turns during the venting procedure.
3. Verify that air has been purged from the system.
4. Verify that air has been purged from the gas piping, and that the piping has been checked for leaks.
5. Confirm that the proper start-up procedures were followed.
6. Inspect burner to verify flame.
7. Test safety controls: If heater is equipped with a low water cut-off or additional safety controls, test for operation as outlined by manufacturer. Burner should be operating and should go off when controls are tested. When safety devices are restored, burners should re-ignite after pre-purge time delay.
8. Test fixed high limit function: When the PIM DIP switch #8 is turned to the ON position, a Commission Test Mode is activated. The PIM lights the amber Alarm/ Test LED. This mode activates certain functions to assist initial commission testing of the system. The configured high limit temperature is overridden to match the setpoint potentiometer position. The high limit can then be adjusted by the potentiometer to assist commission testing and verification. The operating setpoint is automatically set to 20°F (11ºC) above the high limit (stand-alone mode), or it can be controlled by the VERSA IC® Control.Highlights
9. Test ignition system safety device:
a. Turn on manual gas valve. Turn power on.
b. Set thermostat to call for heat.
c. When the heater is in operation, pull cap off of tee in air switch hose. The burner should go off immediately.
d. Wait 5 minutes.
e. Reattach cap on tee. Burner should re-ignite after pre-purge time delay.
10. To restart system, follow lighting instructions in the Operation section.
11. Check to see that the adjustable high limit control, if provided, is set above the design temperature requirements of the system. For multiple zones: Check to make sure the flow is adjusted as required in each zone.
12. Check that the heater is cycled with the thermostat. Raise to the highest setting and verify that the heater goes through the normal start-up cycle. Reduce to the lowest setting and verify that the heater goes off.
13. Observe several operating cycles for proper operation.
14. Set the room thermostat or tankstat to desired temperature.
15. Review all instructions shipped with this heater with owner or maintenance person, return to envelope and give to owner or place the instructions inside front panel on heater.Features
Main Burner Adjustment
1. Turn off unit.
2. Open manual firing valves.
3. Turn on the unit, wait 15 seconds, and the igniter should glow. Look into sight glass located at each end of the heater to check igniter operation. Gas valves should open in 45-60 seconds.
4. If burner does not light on first trial, it will retry up to three times for the standard module.
5. Main burner ignition: Check manifold gas pressure at gas valve outlet pressure tap. This should read 3.5 ± 0.1 in. WC for natural gas and 10.5 ± 0.1 in. WC for propane gas.
6. If the pressure reading differs by more than ± 0.1 in. WC, remove screw cover from the gas pressure regulator and adjust main burner manifold pressure.
Replace the screw cover. Repeat steps 3 to 5 on ther valves as necessary.Brand Information

For over 70 years, Raypak Raypak is a wholly owned subsidiary of Rheem Manufacturing and has been the world’s leading manufacturer of copper finned boilers and heaters. In 2000 Raypak’s primary manufacturing facility was relocated to a completely new 235,000 square foot building in Oxnard, California, its current headquarters. Raypak’s design goals are and have always been high quality, reliability and energy efficiency.
Visit Manufacturers Website -
Q/A
No Questions
Log in
Create a Free Account
Please fill out sign-up form
Sign up with your social media account
Or
Fill out sign up form
Why create an account
Sign up with your social media account